
Mounting Canvas onto Stretcher Frames
PREPARATION
Allow images to dry for at least 24 hours before handling. Desired surface treatments should be applied and completely dry prior to stretching onto a frame. It is recommended to allow canvas to rest in room temperature for several hours before stretching. Canvas should not be stretched in temperatures below 65˚F as canvas is more susceptible to cracking in cold environments. The ideal environment for stretching canvas is 50% RH/70˚F. For best results, line a table with felt to help protect the print during the stretching process.
LIQUID LAMINATES
ClearShield Canvas Guard or similar products are recommended to protect and prolong the life of Magic’s TORINO canvases. Use a high-density foam roller or a 3/16″ short-nap roller. Immerse the roller in the liquid. The roller should be completely covered but not dripping. Blot excess liquid with a piece of paper. Roll a thin layer of the liquid laminate onto the canvas starting on one side working your way to the other. Let this first coat dry for 30 to 60 minutes. Roll another thin to medium layer onto the canvas.
THE FRAME
Stretcher bars with rounded edges are preferable verses stretcher bars with sharp edges. Ensure the frame is square by measuring across the diagonal corners, the measurements should be equal. Add a cross brace if desired. Cross braces are recommended for stretcher frames 24”x36” and larger.
THE CANVAS
Cut the canvas 4” longer than the assembled stretcher frame on all four sides. Canvas should be snug but not overstretched across the frame.
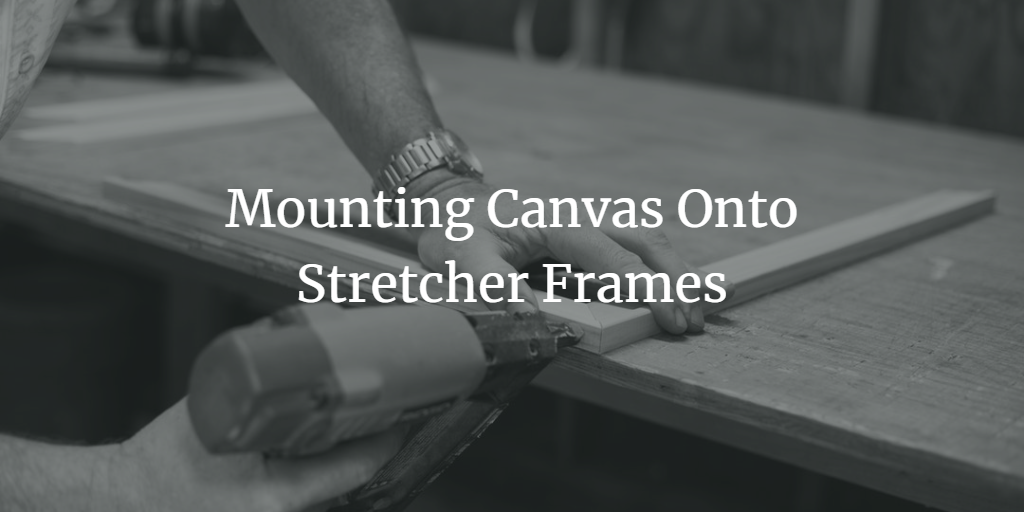
MOUNTING
- Staple one side of the canvas to the frame starting in the center. Insert 3 staples 1.5” to 2” apart.
- Rotate frame to opposite side and be careful not to drag the canvas across the table.
- Use stretching pliers to grasp the edge of the canvas in the center and pull taut.
- Staple the canvas to the frame starting in the center as you did on the opposite side.
- Repeat this process on the two unattached sides.
- Add 2 staples to each side of the first staples. Ensure the canvas is secured on all edges with staples.
FINISHING
- Double fold the canvas at the corners. The final fold should line up with the edge of the frame.
- Staple the folded canvas to the back of the frame.
- Fold any excess canvas to the back of the frame and staple.
Note: To reduce canvas bulk at the corners of the frame, consider using wedge corner cuts.
STORAGE
Stretched canvas should be stored in the vertical position. Avoid leaning canvas prints against each other. If you cannot avoid this, place glassine or craft paper between the canvases.

